
VEHICLE RECORDS
Service Vehicle Inspection Checklist: Photos, Defects and Follow-Up
A vehicle photo in a group chat can show a problem without telling the office what happens next. Which van is it? When was the issue found? Has anyone assessed it? Who is arranging the repair?
For a small service company, the useful record connects the vehicle, the observation, the evidence and the next action. It also keeps the vehicle's internal maintenance history separate from the report sent to a customer.
This guide provides a documentation workflow, an original example and a reusable record template. Use it alongside your approved vehicle-specific inspection procedure, manufacturer instructions and applicable local requirements. It is not a complete mechanical inspection checklist or a roadworthiness certificate.
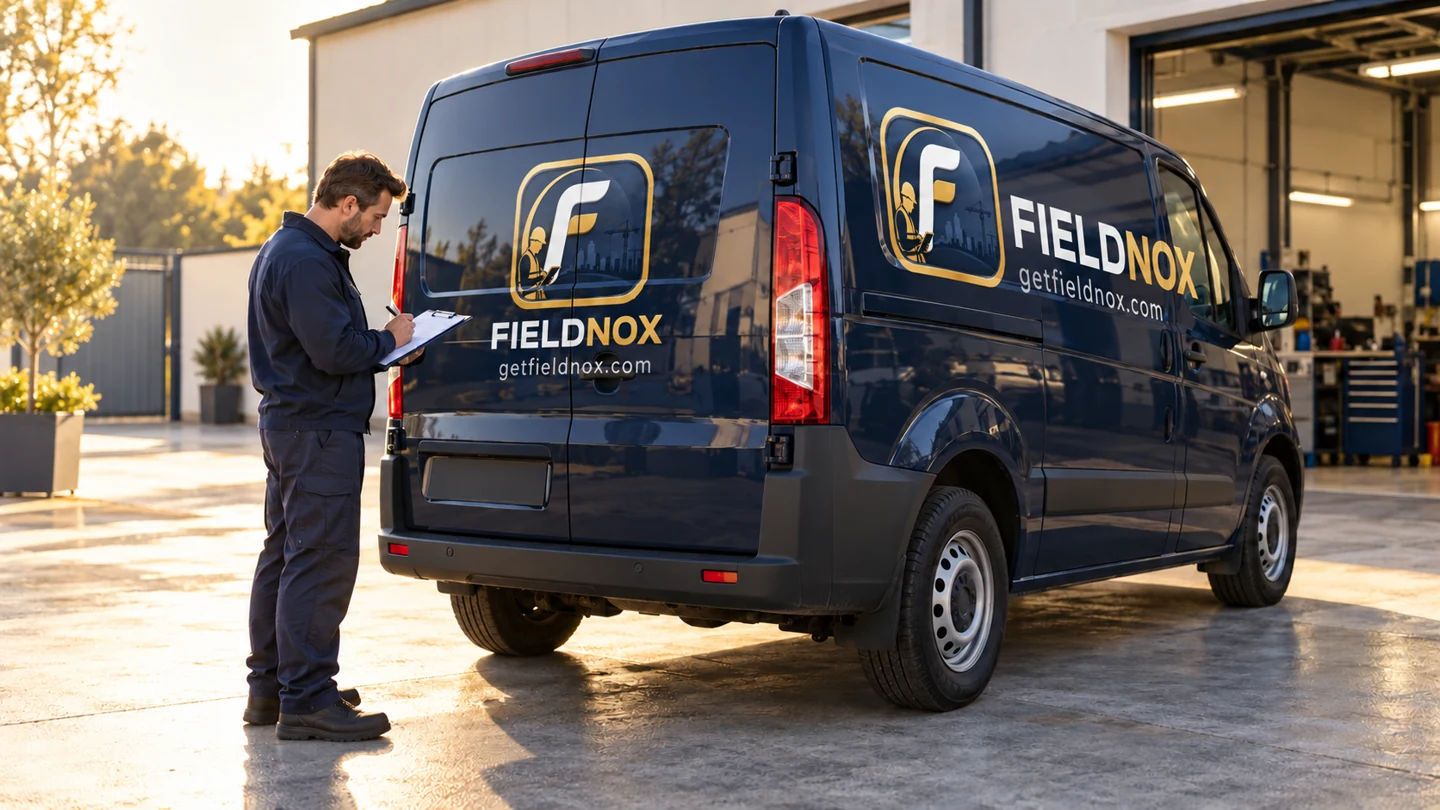
Start with a defined check, not a folder of photos
Decide who performs the check, which procedure they follow, how they report an urgent concern and who can assess defects and authorize the vehicle's return to service.
The person recording an observation should not have to invent a diagnosis. “Left rear lamp did not illuminate during the check” is more useful than an unsupported statement such as “electrical system failed.”
Record only checks actually performed. Keep these outcomes distinct:
- Checked: no issue observed within the stated check.
- Issue observed: describe it and record the action taken.
- Not checked: explain why and identify the required next step.
- Not applicable: explain why the item does not apply.
A blank field does not establish that a check happened. A photograph does not establish that a component operates correctly.
What to include in the inspection record
Use the following record structure with your organization's approved checklist. The groups below help organize documentation; they do not define every check your vehicle requires.
| Record group | What to capture | Why it matters |
|---|---|---|
| Vehicle identity | Internal vehicle ID, registration where needed, vehicle type | Connects evidence to the correct vehicle |
| Check details | Date, time, time zone, location, checker, procedure and version | Makes the record understandable later |
| Use information | Odometer with miles or kilometers, where relevant | Prevents a unit-free number becoming misleading |
| Actual checks | Item, method, result and any limits | Separates completed checks from missing work |
| Observation | Exact location, symptom and conditions | Gives the reviewer something specific to assess |
| Evidence | Photo reference, caption and capture time | Connects an image to the observation |
| Immediate response | Who was contacted, when and any use restriction | Shows what happened after the finding |
| Follow-up | Responsible person, target date, repair reference | Keeps the issue open until resolved |
| Closure | Work recorded, verification, reviewer and decision time | Makes the final decision traceable |
Your procedure might cover visibility, lights, tires, doors, load security and other relevant items. Select and perform checks through the approved procedure rather than treating this article as a technical inspection method.
For a jurisdiction-specific starting point, the UK DVSA publishes van walkaround guidance for England, Scotland and Wales, including defect-record fields. That guidance has its own scope. Do not assume that one country's form, vehicle category or reporting rules apply to every van operating in the US, Canada, the UK or Australia.
Take photos that answer a reviewer's question
Start with a context view that identifies the relevant vehicle area. Add a closer view when it helps explain the observation. For work subsequently completed, take a comparable view and link it to the repair record.
A useful caption reads:
“VAN-04, left rear lamp assembly, before repair. Lens and surrounding area shown. The failed illumination was observed during the functional check described in record VCR-042.”
This caption separates the visible scene from the functional observation. A still photo of a lamp does not prove that the brake-light circuit works, and an after photo does not prove that every related system was checked.
Use stable references such as VCR-042-P01 and VCR-042-P02. Keep originals with the internal record. Avoid including customer documents, access codes or unrelated people in the frame. Our before-and-after photo report guide explains how to match views and write clearer captions.
Example: a van is held while a reported light issue is assessed
The following is a fictional training example. It describes a record sequence, not a repair instruction or a finding about a real vehicle.
A five-person maintenance company uses three service vans. Before a planned visit, technician Maya follows the company's approved check procedure for VAN-04. She records that the left rear brake lamp did not illuminate during the specified check. She does not identify the underlying cause.
| Stage | Entry in record VCR-042 |
|---|---|
| Observation | Left rear brake lamp did not illuminate during the recorded check; cause not established |
| Evidence | P01 shows the left rear lamp area; functional observation recorded separately with method and time |
| Immediate response | Vehicle held from use under company procedure; manager contacted directly at 07:42 local time |
| Office action | Manager assigns repair follow-up to Sam and rearranges the customer visit using another vehicle that has completed the required checks |
| Repair record | Qualified repair provider records lamp replacement under repair reference R-042 |
| Verification | Relevant post-repair functional check documented, including method, result, checker and time |
| Closure | Authorized reviewer links R-042, records the decision and identifies the person authorizing return to service |
The manager does not close the issue when a repair is merely booked. A new photo is also insufficient on its own. The record stays open until the required work, verification and authorization have been recorded.
If a possible safety issue is found, follow the company's stop-use and direct escalation procedure. Do not rely on an unread chat message, queued upload or later dashboard review to communicate an urgent concern. Documentation software does not decide whether a vehicle is safe to drive.

Keep internal vehicle details out of the customer report
The internal record can include the vehicle defect, repair booking, staff assignments, costs and maintenance references. Share those details only with people who need them.
The customer's service report should describe the customer's job: agreed scope, work completed, relevant photos, checks actually performed and outstanding work.
If the vehicle issue changes the appointment, a separate customer update might say:
“Our team has reassigned your visit to another vehicle. Your revised arrival window is 10:00–11:00. The agreed work scope is unchanged.”
Use that wording only after the new arrangements are confirmed. Do not copy the internal defect log into the customer PDF. The field service report template provides a separate structure for the job handover.
Copyable vehicle check and defect follow-up record
Use a separate item row for every required check and a separate defect entry for each issue. The downloadable version includes space for both. Complete the record manually or in a system your team has tested.
Vehicle ID / registration:
Check date / time / time zone / location:
Checker / approved procedure and version:
Odometer / unit, if relevant:
Check item / method / result / limits:
Observation / exact location:
Photo references / captions / capture times:
Immediate action / use restriction:
Reported to / direct contact time / acknowledgment:
Follow-up owner / target date:
Repair reference / work recorded:
Verification method / result / checker / time:
Reviewer / decision / decision time:
Return-to-service authorization, if required:
Remaining action / owner / due date:
Record “no issue observed” only for a check actually performed. Record missing work explicitly. Keep a repair entry, verification entry and authorization distinct so that one cannot silently stand in for the others.
Download the full editable record
Download the vehicle record (.txt)
Preview the full record
VEHICLE CHECK AND DEFECT FOLLOW-UP RECORD

Documentation worksheet. Use with your approved vehicle-specific inspection
procedure, manufacturer instructions and applicable requirements. This is not
a complete mechanical inspection checklist or a roadworthiness certificate.
Record only work actually performed. Add item rows and defect entries as needed.
Use direct escalation for urgent concerns; do not rely on a queued submission.

RECORD IDENTITY
Record ID:
Vehicle ID / registration:
Vehicle type:
Date / time / time zone:
Location:
Checker:
Approved procedure / version:
Odometer / unit (miles or kilometers), if relevant:

ACTUAL CHECKS — repeat for every required item
Item ID / description:
Method actually used:
Result (select one):
[ ] Checked: no issue observed within this check
[ ] Issue observed
[ ] Not checked — reason and next action required
[ ] Not applicable — reason required
Observation / limits / reason:
Next action / responsible person / target date:

DEFECT OR ISSUE ENTRY — repeat for each issue
Issue ID / linked check item:
Observed symptom / exact location / conditions:
Photo reference / caption / capture time:
Additional evidence reference:
Immediate response / use restriction:
Reported to / direct contact time:
Acknowledgment / time:
Follow-up owner / target date:
Status: open / awaiting assessment / awaiting repair / awaiting verification / closed

REPAIR AND VERIFICATION
Repair reference / provider:
Work recorded / completion date:
Verification method / scope:
Observed result / limits:
Verification checker / date / time:
Photo references, if relevant:

REVIEW AND CLOSURE
Reviewer / review date / time:
Decision / supporting record references:
Return-to-service authorization, where required / authorizer / date / time:
Remaining actions / owners / due dates:
Record storage reference / retention policy:

INTERNAL RECORD — NOT THE CUSTOMER'S JOB REPORT
Keep internal vehicle, staff, repair and cost information access-restricted.
Communicate only confirmed appointment changes through the customer channel.
When a shared record is enough—and when to assess other tools
A small team can start with an approved procedure, a consistent form, an organized evidence folder and a named reviewer. The practical test is whether the team can retrieve the record, identify open actions and show the basis for closure.
If those steps become difficult across more vehicles or locations, assess tools against actual requirements. These may include inspection-specific forms, maintenance scheduling, repair history, role permissions, retention, export or integrations. Vehicle tracking and route management are separate requirements to evaluate when needed.
Before selecting any tool, test a complete example: report an issue, notify the responsible person, record a repair, document verification and retrieve the final record. Our software selection guide for a five-person team provides a broader decision framework.
Connect the documentation habit to your service jobs
This guide is published by the team behind Fieldnox. Its focus is documenting field work and preparing useful reports. Nothing in this guide establishes a dedicated Fieldnox vehicle-inspection module, GPS tracking or a fleet-management workflow.
If the same gaps appear in your customer-job records—unmatched photos, unclear notes or an incomplete handover—explore Fieldnox for your field reporting workflow and check its current capabilities against a real job before adopting it.